Flexi Post Grid includes a dedicated Event Grid layout designed for displaying upcoming events in a clean and structured format.
This layout allows you to highlight event dates, manage expiration, and automatically hide past events.
By combining grid style settings, styling controls, and event field options, you can create fully customizable event listings without writing any code.
Step 1: Select Event Grid Style #
To create an event listing layout, first select the Event Grid style from the Grid Style options.
Go to:
Grid Widget → Grid Styles Types → Event Grid
After selecting this style, your posts will be displayed with a date badge layout suitable for event listings.
This layout automatically prepares the grid to display the event date badge on each card.
Step 2: Design the Event Date Badge #
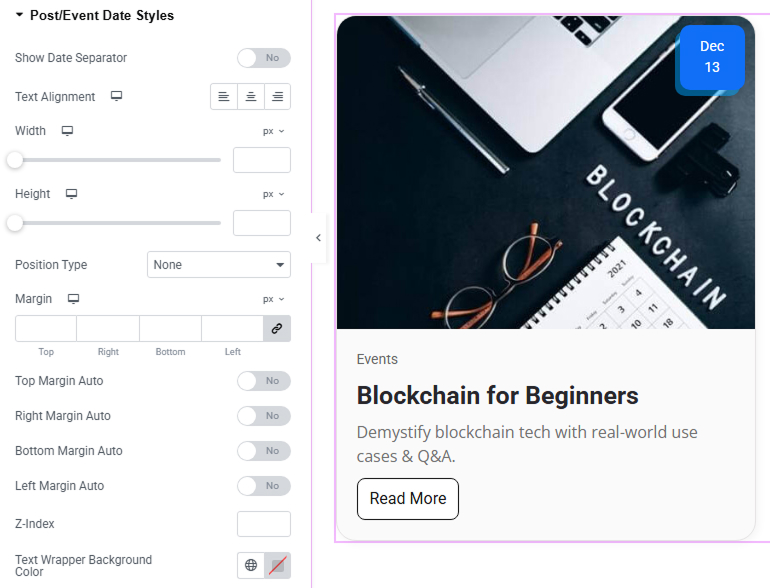
Once the Event Grid style is selected, you can fully customize the appearance of the date badge using the Style settings.
Go to:
Style → Post/Event Date Styles
Here you can control many visual settings including:
- Date box alignment
- Width and height
- Position of the date badge
- Margin spacing
- Background color
- Z-index
- Separator display
- Text alignment
These options allow you to match the date badge design with your website layout and branding.
Step 3: Enable Event Date Fields #
Flexi Post Grid provides a simple way to add event date fields directly inside the post editor.
Go to the plugin settings:
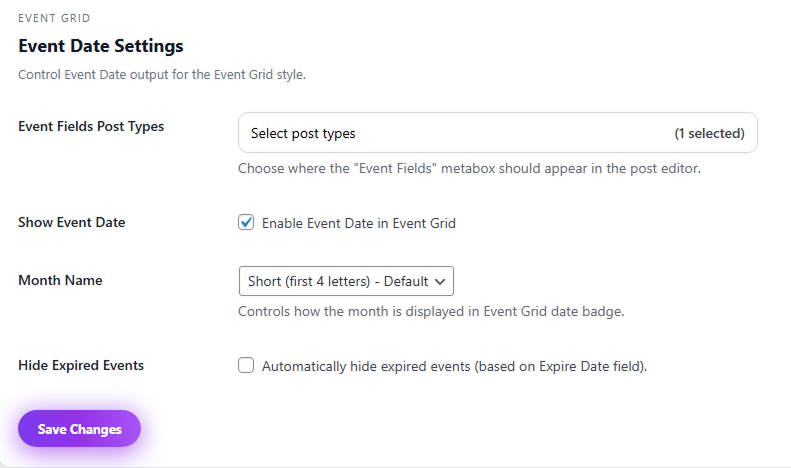
Flexi Post Grid → Event Date Settings
Then configure the following:
Event Fields Post Types #
Select the post types where you want the Event Date fields to appear.
Once selected, the event fields will automatically appear inside the WordPress post editor.
Show Event Date #
Enable this option to display the event date badge in the Event Grid layout.
Month Name #
Choose how the month should appear in the date badge:
- Short month name
- Full month name
Hide Expired Events #
Enable this option if you want past events to automatically disappear from the grid.
Step 4: Add Event Date in the Post Editor #
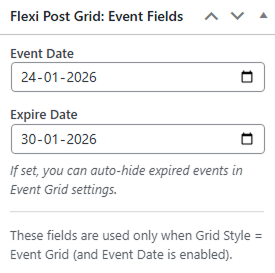
After selecting a post type in the Event Date Settings, new fields will appear in the post editor sidebar.
You will see the section:
Flexi Post Grid: Event Fields
Inside this section you can set:
Event Date #
The date when the event will occur.
Expire Date #
The date when the event should be considered finished.
If the Hide Expired Events option is enabled, the event will automatically disappear from the grid after this date.
How Expired Events Work #
When Hide Expired Events is enabled:
- Each event has an Expire Date
- After the expire date passes
- Flexi Post Grid automatically removes the event from the grid
This allows you to maintain clean and up-to-date event listings without manual editing.
Event Grid Use Cases #
The Event Grid layout is perfect for displaying:
- Conferences
- Workshops
- Webinars
- Meetups
- Training sessions
- Community events
- Online events
Because expired events can be hidden automatically, it works well for websites that frequently publish new events.
Pro Tip #
For best results:
- Use a featured image for each event
- Add a clear event title
- Include a short description
- Set the Event Date and Expire Date correctly
This ensures your event grid looks professional and easy to browse.


